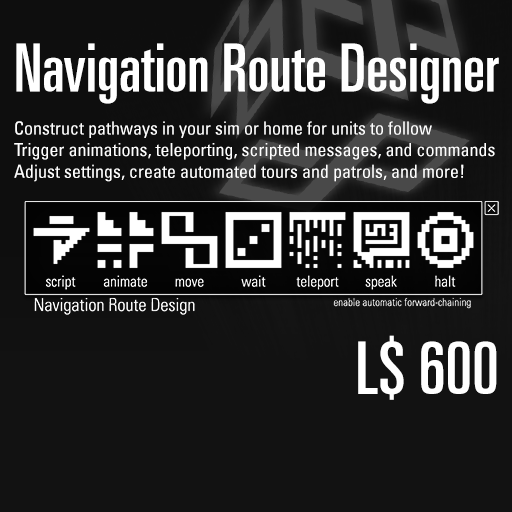
introducing navigation
After nearly a year of research and development, the Navigation Routing System is now available for general use. Bring your home or business to life with real automation, permitting units to carry out tasks you program. Implement greeters, tours, touchless software updating, housekeeping services, and more with ease using the new Navigation Route Designer HUD.

To place a node using the HUD, simply click the corresponding icon, and it will be spawned at your feet. If applicable, a prompt will then guide you through the process of setting up your new node.
- move: The simplest node type, these instruct the unit to proceed to the next node in the chain when reached. A series of move nodes is ideal for guiding a unit down a corridor or long path, or simply turning a sharp corner.
- teleport: Like a move node, the unit will continue onward to the next step in the sequence when reaching this node. However, it will do so by teleporting. This makes it easy to create teleportation hubs that can send units anywhere in the sim!
- speak: Speak nodes instruct the unit to say a pre-set message that you choose. (Even with their mind subsystems disabled.) These are great for tours, greetings, and more. Afterward, the unit will continue to the next node if one is specified.
- wait: The unit will wait at this node for a specified number of seconds before moving on.
- animate: Like a wait node, but with one extra twist: drop an animation into the node to make the unit play it while waiting. To replace the animation, simply drop in a new one.
- script: These are the most versatile node type, and can execute any commands that a normal user would be allowed to perform on the unit with a remote console. Toggle subsystems, trigger RLV commands, or turn the unit off entirely! As with other node types, the unit will continue to the next node in the chain after the script is finished.
- halt: Unlike all the others, the unit will not continue pathing past this point.
Automatic forward chaining: by default, the HUD will connect the nodes in the order you place them down. This can be toggled by clicking the corresponding text in the bottom-right corner of the HUD. To manually re-connect a node, simply click on it and select 'set next' from its main menu.
Undo functionality: click 'delete last node' on the HUD to remove nodes one at a time, from most recent to earliest.
Version requirements: A controller running Companion 8.4a or later is required to experience the navigation system. See Updating to the latest firmware for more information.
Price and availability: the Navigation Route Designer HUD is available now from our Main Campus in Eisa for L$600. Drop by our Main Campus Sales Area and try out the demo route!